Kwik Exporter
Step1 and Step2 are described in the chapter top page
- Step 1 – Install the Photoshop UXP Plugin (.ccx)
- Step 2 – Using the Kwik Exporter in Photoshop
Menu
Go to the Menu tab – Photoshop Files
Use the “Open” button to select the folder containing your
.psdfiles.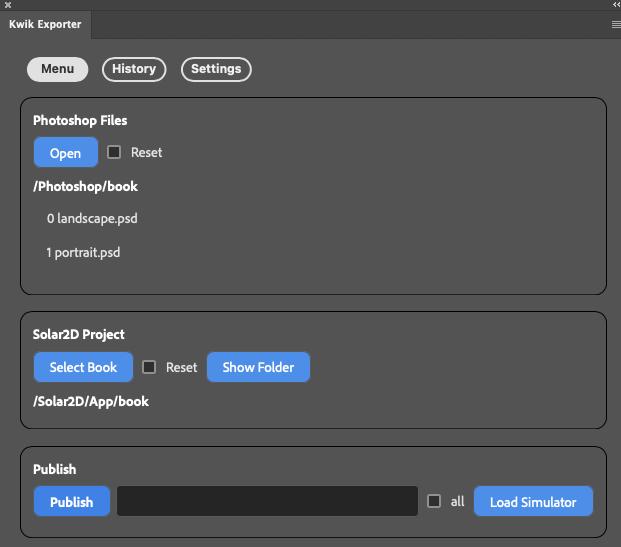
Click a PSD file name to open it.
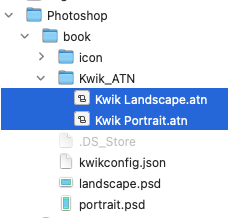
Guide Layouts are created by Kwik_ATN actions, but you can use your own.
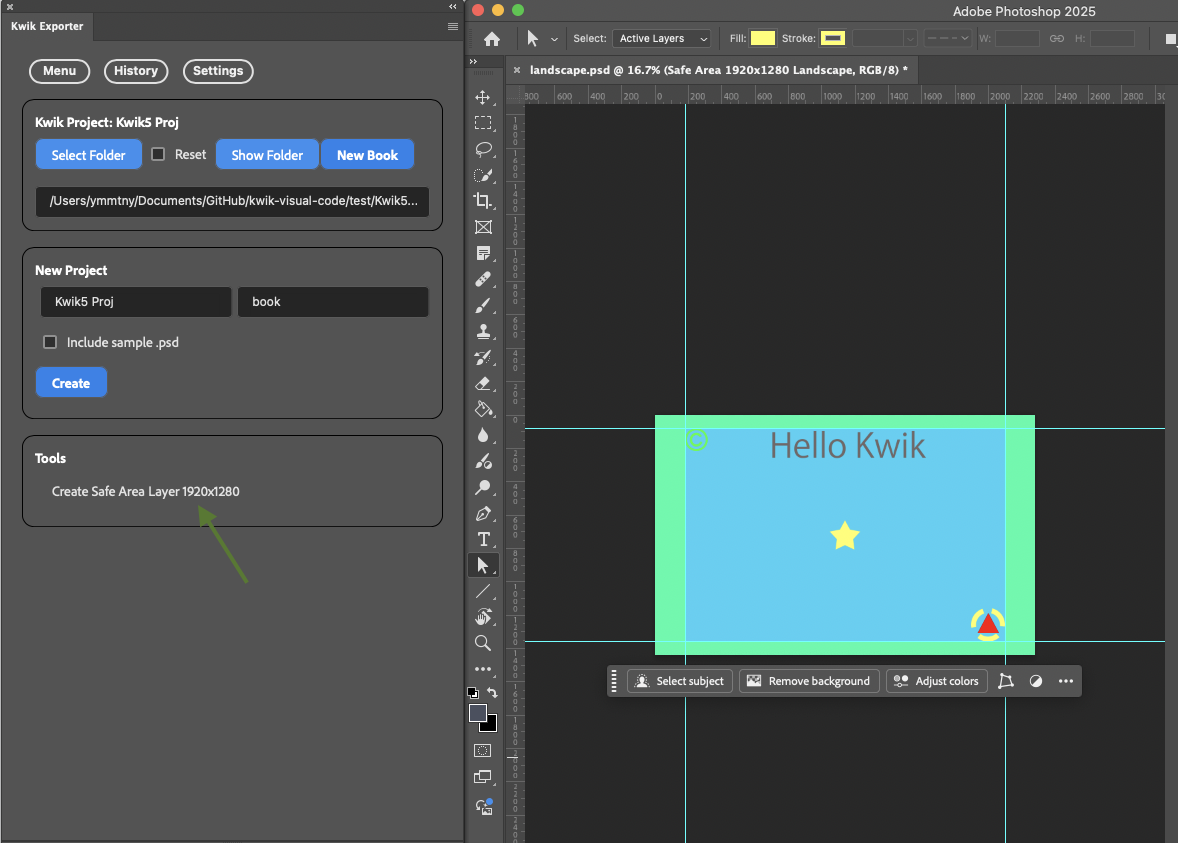
Settings Tab > Tools
Safe area guidelines are also available.
Solar2D Project
Select the
App/{book}folder where the Kwik exporter will create images and Lua files.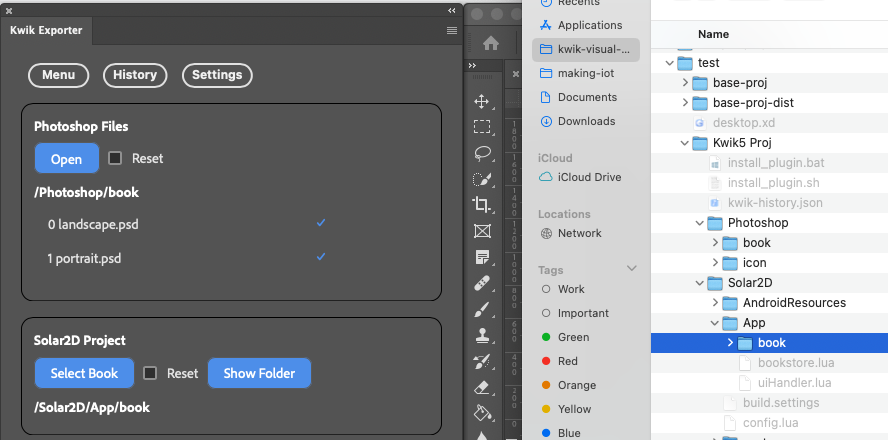
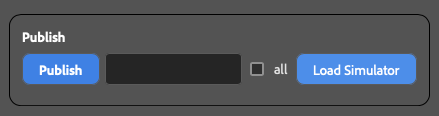
Publishing
- Select the PSD files you want to publish. You can use the all checkbox, then click the “Publish” button. By default, only checked files will be published.
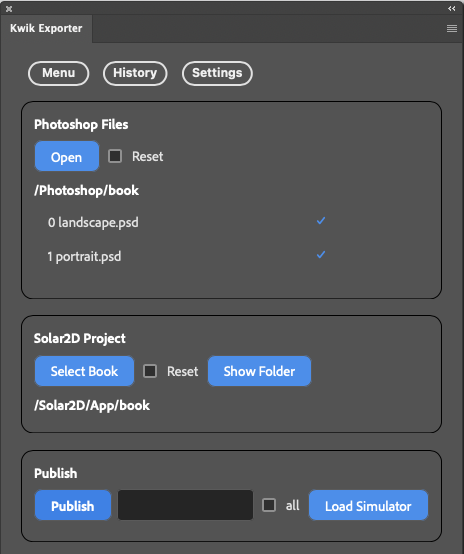
Publish dialog
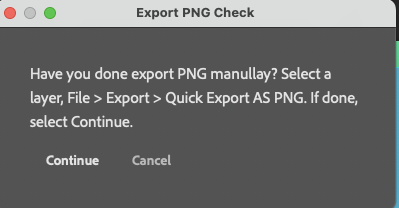
Due to a known Photoshop UXP bug, you should check that image export works before using scripts to automate export. If it doesn’t work, restart Photoshop.
To check, just try exporting a PNG manually:
Select a layer, right-click, and choose “Quick Export as PNG”. Once this works, you don’t need to repeat the check.

If export works, select “Publish” again and click Continue to publish the selected PSD files.
Make sure to check the publish options and the App/book folder path.
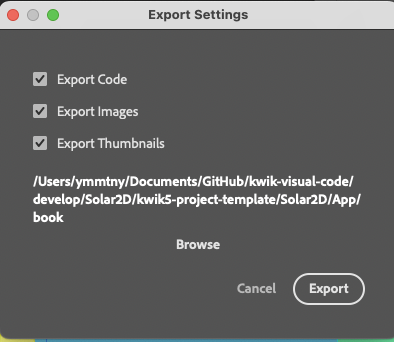
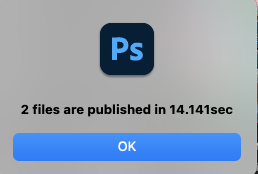
The Kwik exporter processes the PSD files and layers, and shows a dialog when finished.
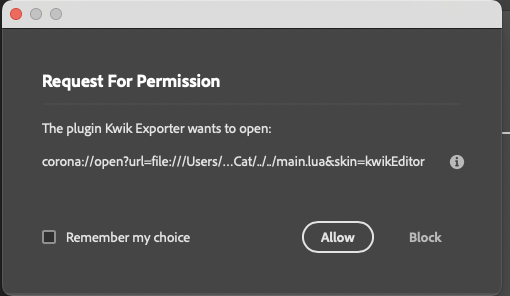
Load Simulator
You can open the Solar2D simulator with the Load Simulator button.
When prompted for permission, select “Allow”.
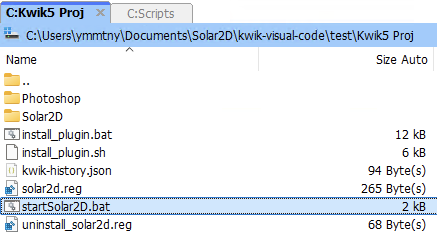
Windows
The root folder opens in File Explorer; double-click startStar2D.bat to run the Solar2D simulator.
On Windows, the Kwik exporter (UXP extension) cannot open Solar2D.exe automatically.
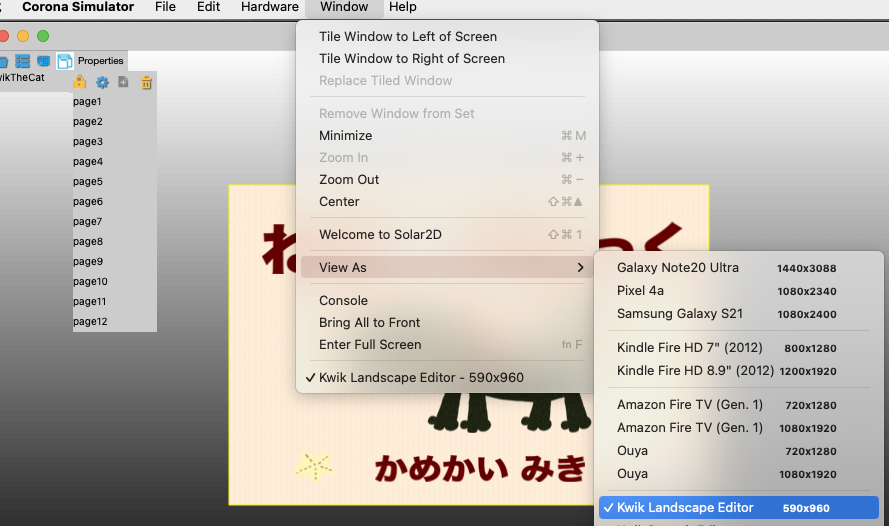
When the Solar2D Simulator opens, use Window > View As to change the skin to Kwik Editor Landscape or Portrait.
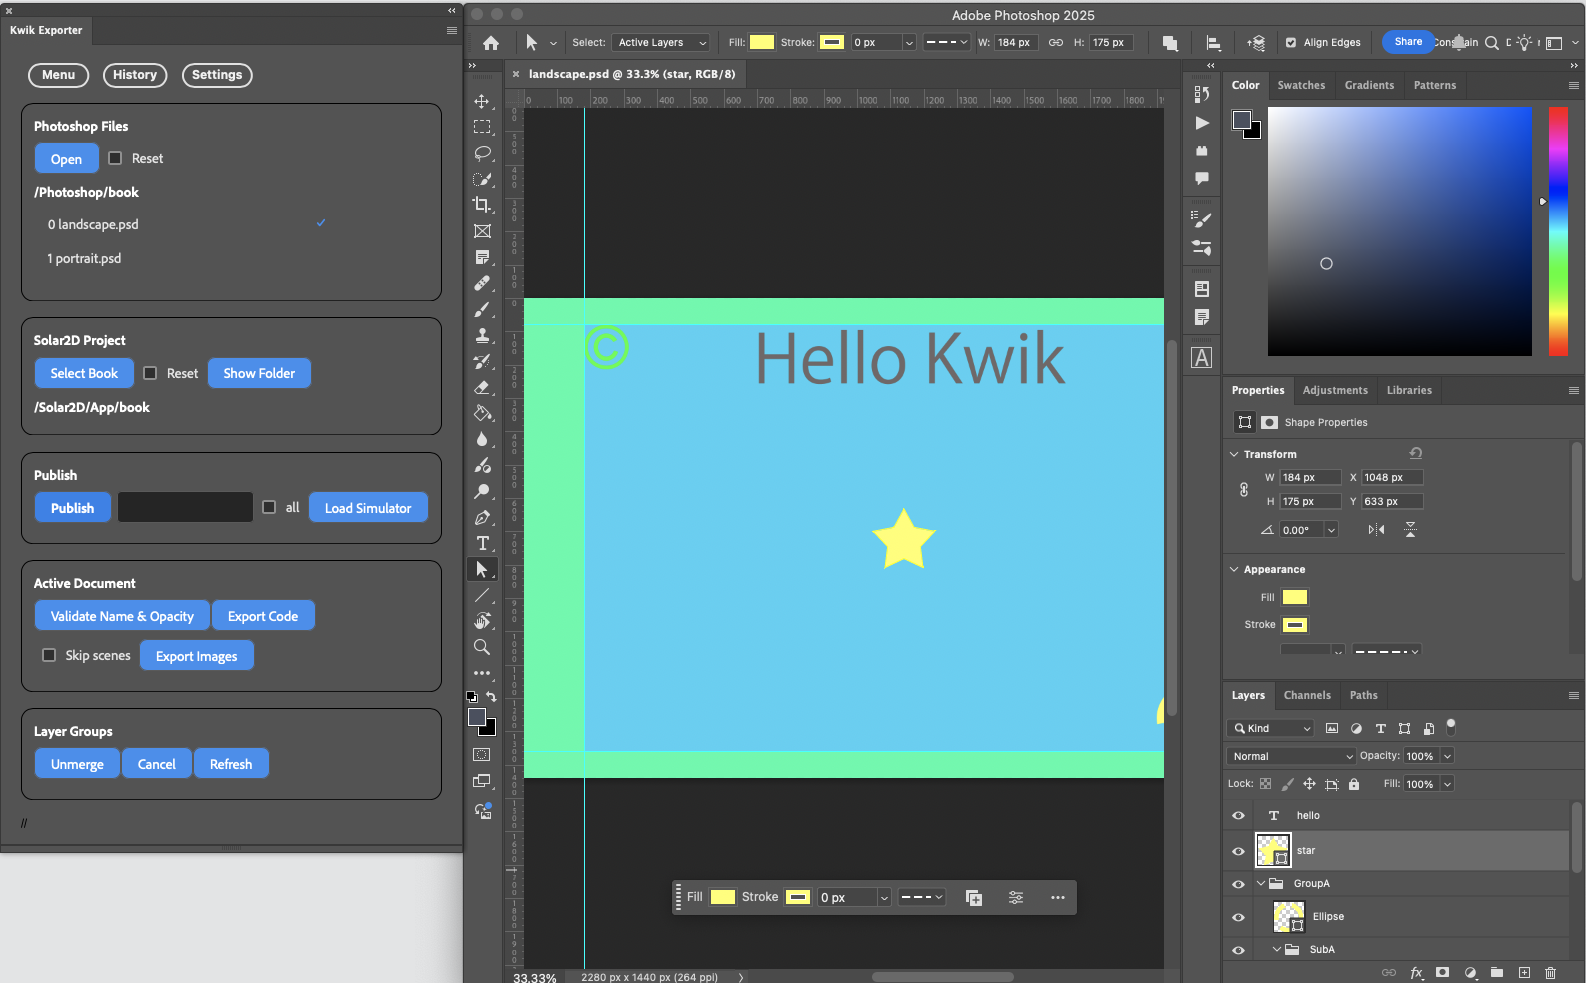
Active Document
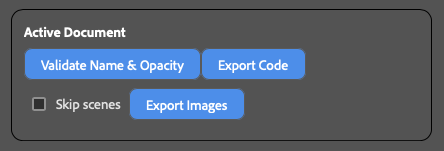
Validate Name & Opacity
Japanese katakana is converted to alphabet.
Opacity zero is adjusted because Photoshop does not export transparent layers as PNG.
Export Code
Only exports Lua files.
Skip scenes: Useful if you open a PSD file not in the list of Photoshop files.
If unchecked, the scenes (pages) index is always updated with the list of Photoshop files (default behavior).
Export Images
(Optional) Hold the Shift key
Only exports the single selected layer when using Export images in Active Document.
Layer names starting with “-” (hyphen) are ignored when exporting code & images.
Layer Groups
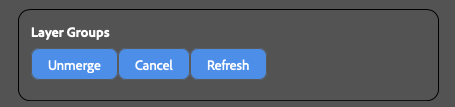
Unmerge
Select a layer group in the Layer panel to export each child layer individually.
Cancel
Cancel Unmerge.
Refresh
If there is a subfolder with the same name as the layer group in App/book/assets/images/page, Unmerge is triggered. You can manually create subfolders and use the Refresh button.