Sync Audio and Text
TODO
book: replacement
- page: sync
- alphabet.mp3
- alphabet/a.mp3, b.mp3, c.mp3
- page: snowman
- ohno in assets/audios/sync/snowman
- page: sync
lingualSample
- page2: my_father_nice
- sync/en, ja, pt, sp .mp3/.txt
- page3: two sync2audio texts: i am a cat, my name is kwik
- page4: multi lingual two sync2audio texts
- page2: my_father_nice
how to make time codes
- audacity
- fountain script > lib/timecodes.lua
how to make a mp3 by a tts
- https://ttsmaker.com/#google_vignette
- https://ttsmp3.com/
- espeak ng
- Open JTalk
book: elevenlab
ref
Sync Audio and Text
The Sync Audio and Text Replacement window allows you to configure a text layer that will highlight the words playing an audio file (from now on we will call it Synced layer).
Synced layers will be rendered as native text with specified font, So be careful because text renders differently in different platforms. It is always a good idea to test the final project in the destination device – check this posting to learn a bit more about how text rendering from Photoshop works with Solar2D:
Select the layer you want to add the Sync feature and click the Sync audio and text replacement. The editor appears with default value with sentence.mp3 and sentence.txt, so please replace it for your own .mp3 and .txt
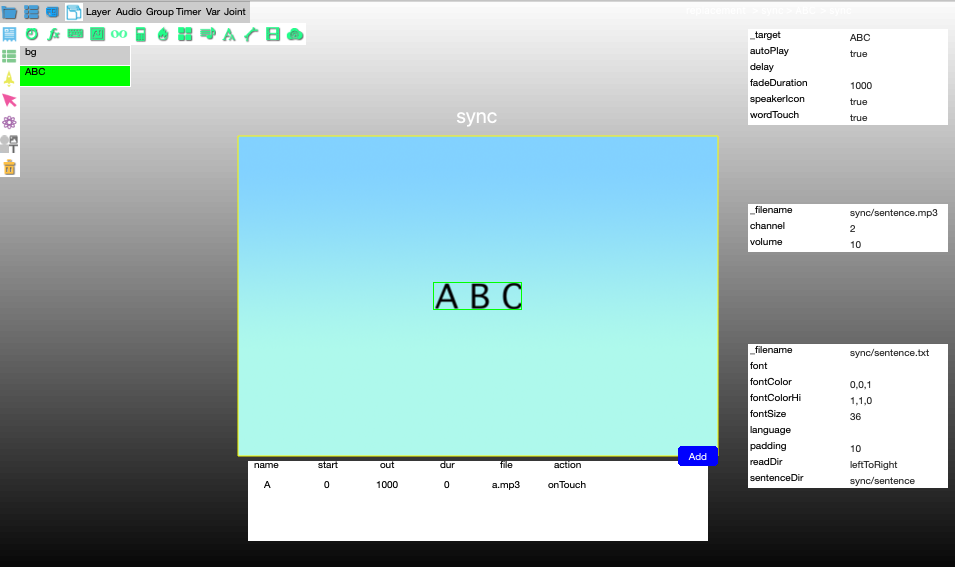
Properties
target = NIL,
autoPlay     = true,
delay        = NIL,
fadeDuration = 1000,
speakerIcon  = true,
wordTouch    = true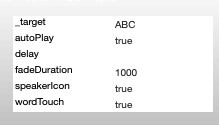
speackIcon: true
when enabled, will show an audio icon at the side of the text. Clicking the button will start the narration/sync. This is a good option to test the project when the correct buttons to start the sync are not created yet.
If you plan to use your own button to start the Sync, make sure its layer is BELOW the Synced (the layer with the text) layer.
Audio Properties
filename = "sync/sentence.mp3",
channel = 2,
volume  = 10,
Text Properties
filename        = "sync/sentence.txt",
font         = NIL,
fontColor   = { 0,0,1 },
fontColorHi = { 1, 1, 0 },
fontSize    = 36,
language    = NIL,
padding     = 10,
readDir     = "leftToRight",
sentenceDir = "sync/sentence", -- wordTouch
default font is native system font
padding: space in pixels between words
readDir: western language reads left to right
If RightToLeft, it will prepare the Sync feature to work with non-standard Western languages.
frontColorHi: text highlight color
it captures the color to be used when the words highlight. Enter the RGB value or use the button to capture a color from your computer color picker.
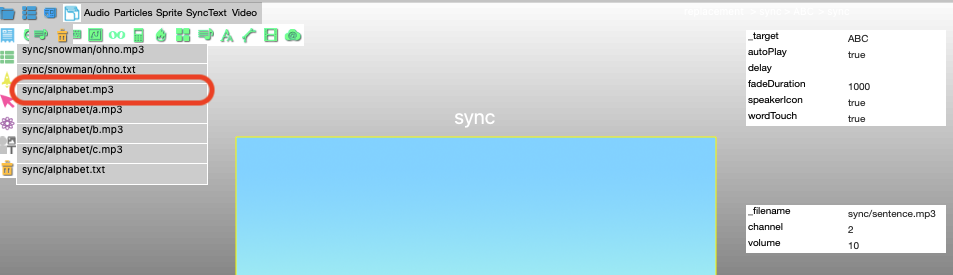
Click _filename label in Audio Properties to select audio file
it allows you to select which audio will be used to sync with the text in the asset audio sync table
select a .mp3
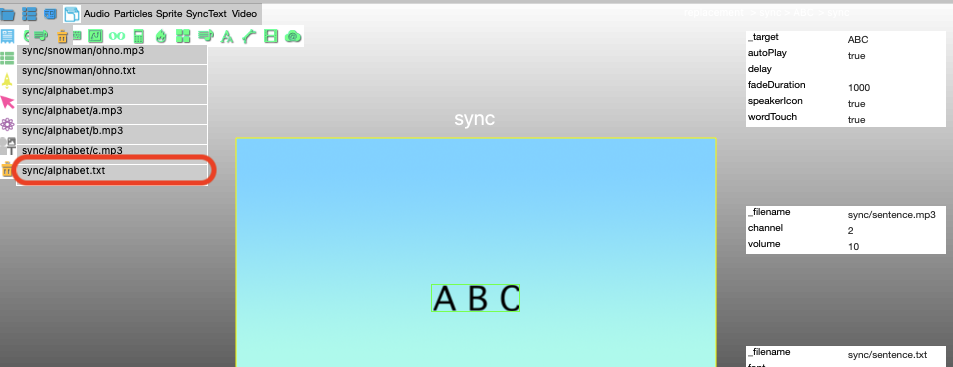
Click _filename label in Text Properties
sync/alphabet.txt is selected, and the time codes in it are listed in the table
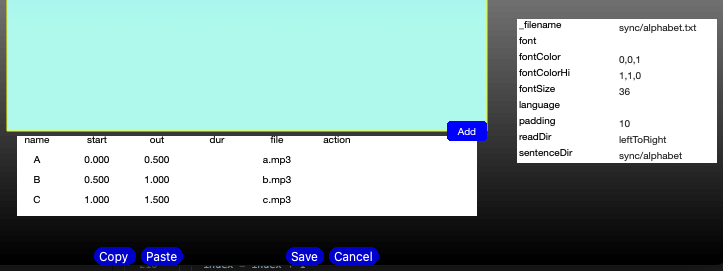
- name: one phrase name for example, if one phrase is “I am”, make it as “i_am” converting a space into “_”, don’t use symbols like “,” “-”
- start: the time code time, in seconds
- out: the time code time, in seconds
- dur: delay duration
- file: individual audio file for each word. See word clicking below.
- action: triggers different actions every time a word is highlighted.
the time code time, in seconds, for each word, meaning when the audio file “speaks” the word. You must enter the start and end positions.
Your entries must be written using only A-Z/0-9 characters. Tests in some Eastern languages corrupted the project file.
after importing an Audacity file for time codes, make sure the table shows all label words and their respective positions, otherwise you may have errors in the final code. Read the Working with Audacity below for more info.
Word Tuch
wordTouch: true
if word clicking is not enabled, the field File will become empty. This is to avoid automatic entry of Eastern languages that may corrupt the project file (XML is not compatible with them).
In order to facilitate this process, you can use Audacity (free software) to set labels and time codes to be imported into Kwik. If you do it, simply click the Import from Audacity button and import your label file.
it allows users to click words and hear individual audio files for each word (an auto animation happens also when you click the word). If you enable this, besides having the audio file containing the full text content, you must have individual files for each word.
For example, if your text is “I love you”, you will need 3 files: “i.mp3”, “love.mp3” and “you.mp3” in the same project folder (Kwik will import them automatically).
If you are creating a multilingual project and the text “I love you” is set to appear only in English selection (considering you set English language ID as “en”), you audio files must be named “en_i.mp3”, “en_love.mp3” and “en_you.mp3”.
- only mp3 file format is accepted with this feature.
- each file name is lower case
For “my fother is nice”, the words “my”, “father” and “nice” will be highlighted and will play their independent audio files when pressed. The word “is” will not be considered a “word clicking” area because its file was set to blank (meaning it does not have an independent audio to be played when pressed).
For “A B C”, you need to prepare a.mp3, b.mp3 and c.mp3
