Scroll Images And Text
Learn how to use features: Scroll and Text replacements. You can find a sample page in interaction > scroll page
Scroll Images
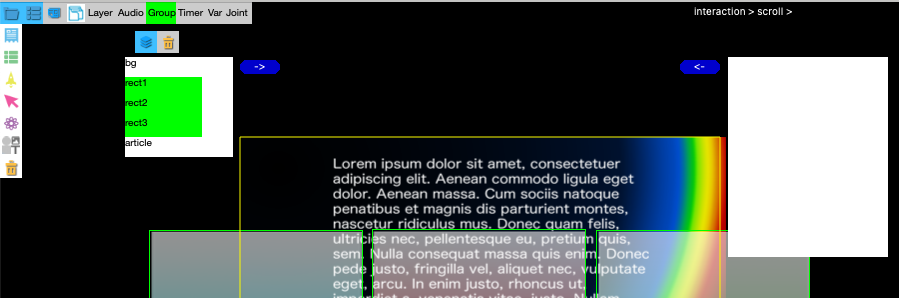
Create a group
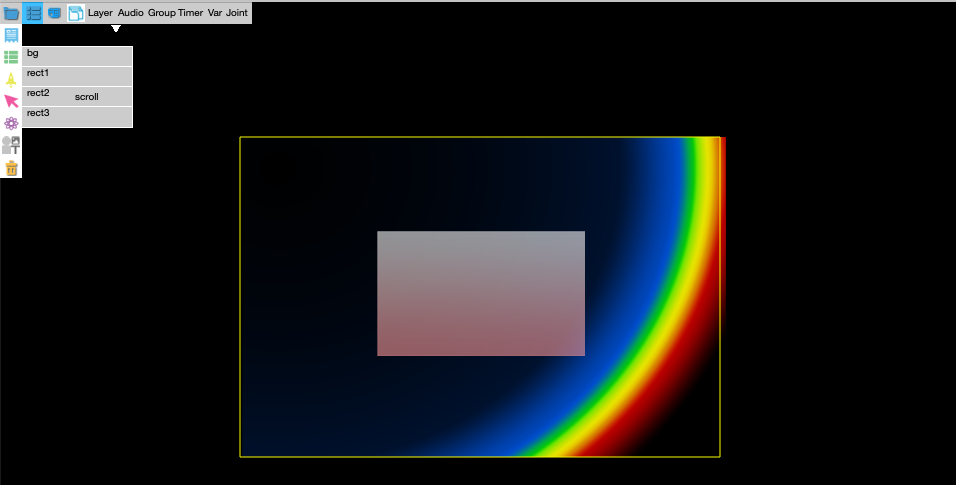
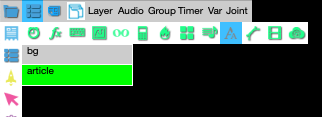
Create a new group in the editor. rect1, rect2 and rect3 into a new group. Select the three rectangles in the layer table, then click create group from project and pages
Save it. The name is “group0” (defalut name automatically assigned)
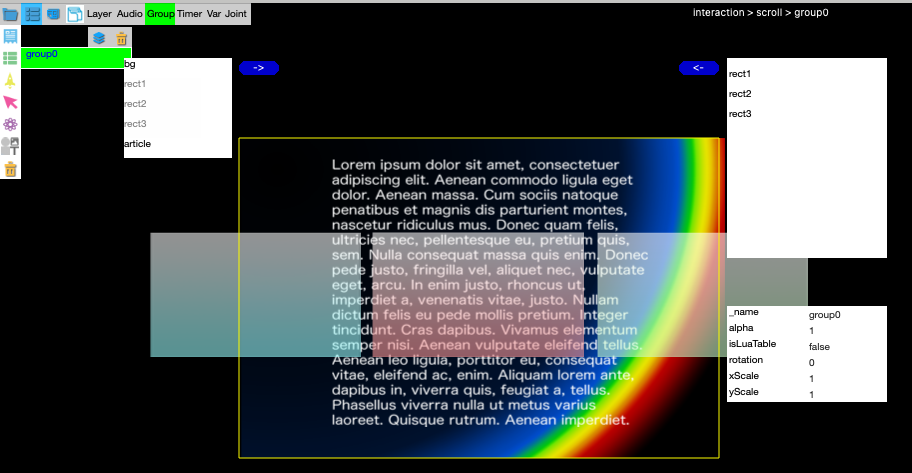
- name: group0
Create a scroll widget
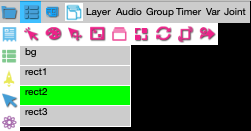
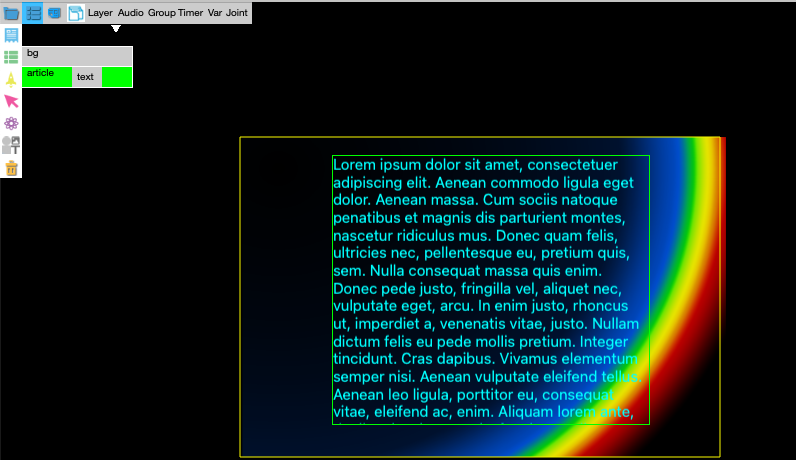
select a rect2 layer
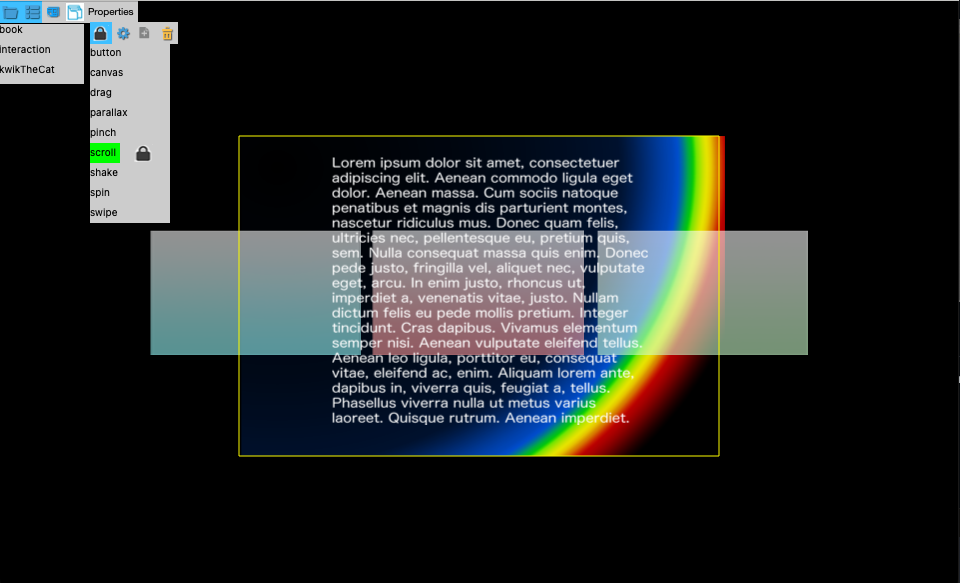
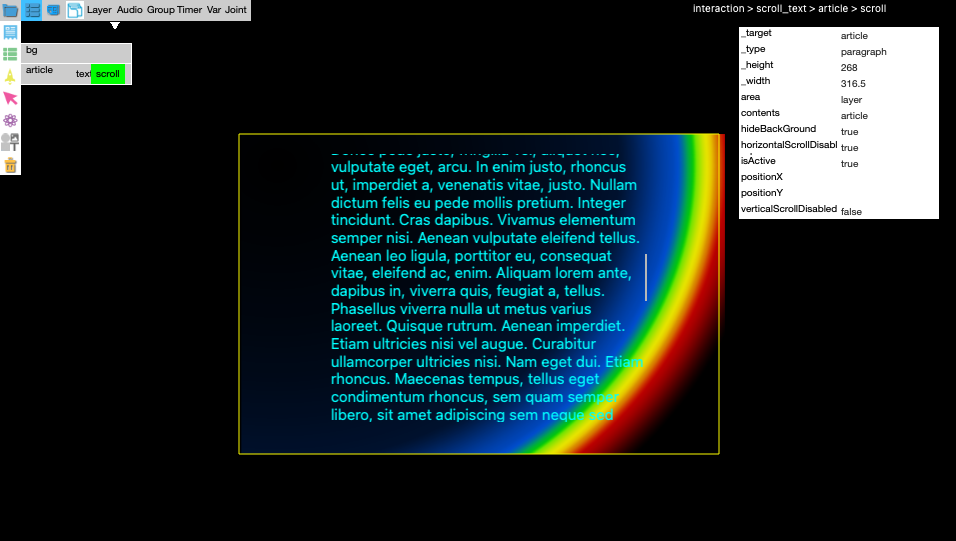
interaction > scroll

the pink rectangle at the center is the view area of scroll object.
- Select rect2 and then click scroll object from Interactions on kwik panel.
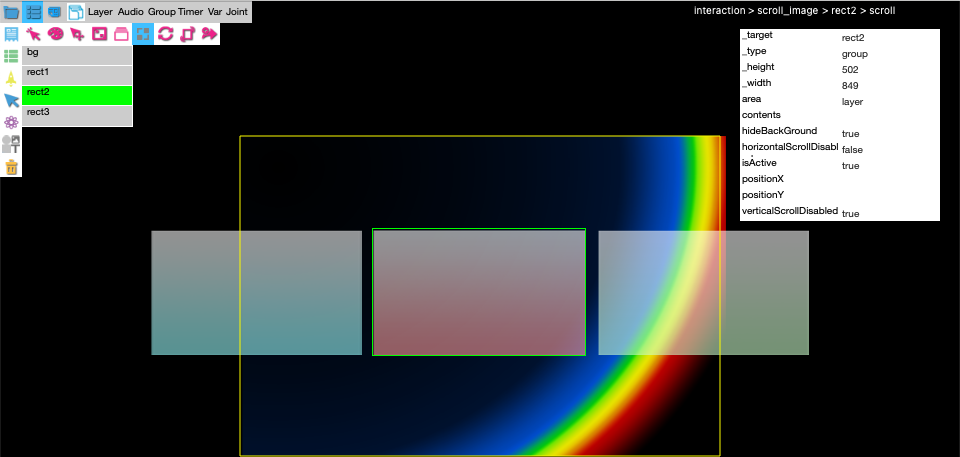
The width and height of rect2, and the position is used to create a scrollWiget.
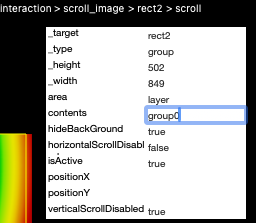
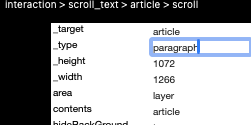
Input a group name to “contents” field. We have create a group named **“group0”, so let’s use it.
TODO select a group from groupTable for _type:group. For a layer image, _type is “layer”
target : “rect2”,
type : “group”,
height : (automaticall set)
width : (automaticall set)
area : “layer”,
area: “page” is available if you want to use the entire page instead of a specified rectanlge of a layer.
contents : “group0”, <===== please set this field
hideBackGround : true,
horizontalScrollDisabled : false,
isActive : “true”,
positionX : nil, scrollToPosition X
positionY : nil, scrollToPosition Y
verticalScrollDisabled : true,
Done. Preview in the simulator
Scroll text
Let’s create a scrollable text
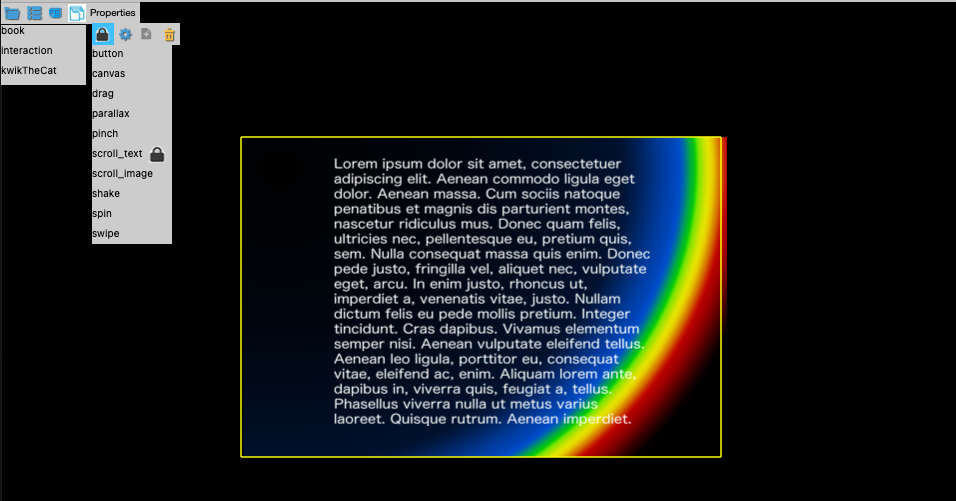
select “Article” layer, and click Replacement > Text Replacement.

- Use native system font
if not checked, Kwik asks you where your custom font is during publishing.
Select Article layer again, and click Interaction > Scroll
the text color has been changed because of Text replacement.
Create a scroll widget
interaction > scroll
_type is paragraph
contents as “article”
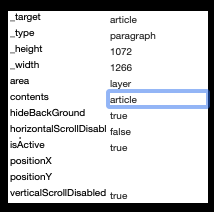
disable vertical scrolling: false
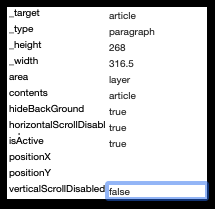
save
Done